Invoice Payment Timeline From Send Date to Paid Status
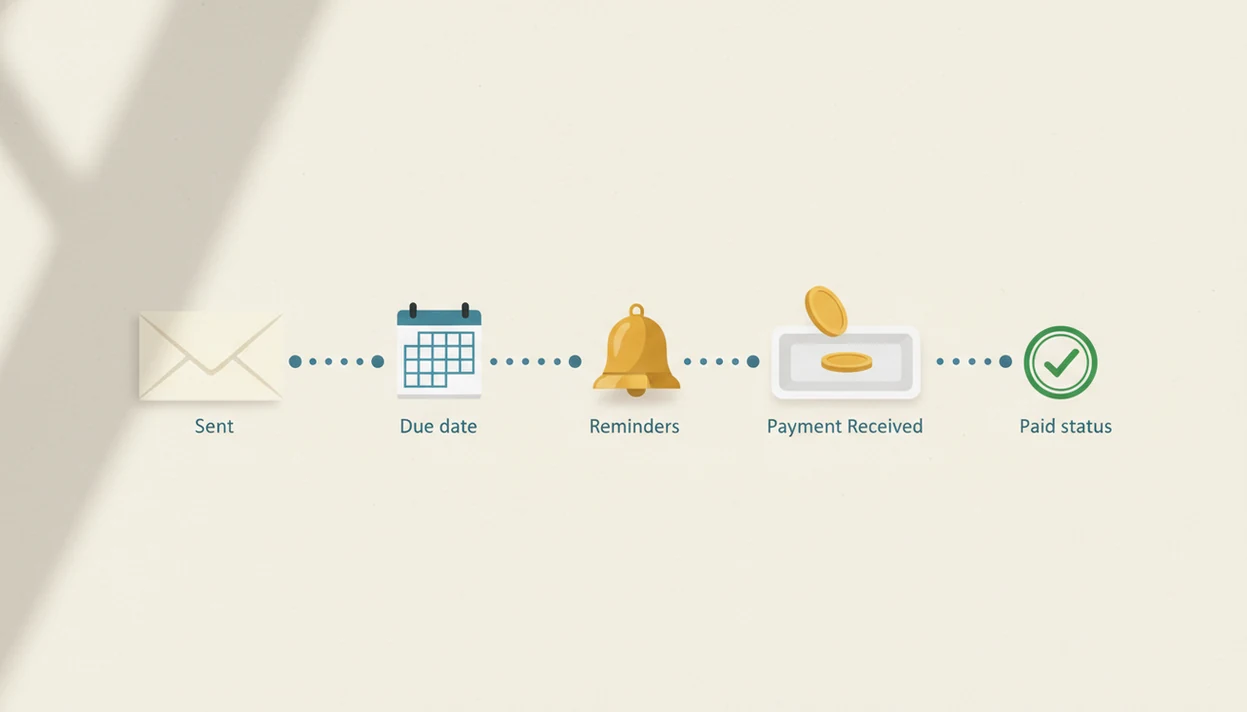
An invoice payment timeline is the sequence from sending an invoice to recording it as paid: send date, due date, reminders, payment receipt, and paid status. For small businesses, the most useful timeline combines clear payment terms with a repeatable follow-up workflow.
> Definition: An invoice payment timeline is the dated workflow that shows when an invoice is sent, when payment is due, what follow-ups happen, and when the invoice is marked paid.
TL;DR
- Most invoice timelines start on the invoice date and end when the payment is received and recorded.
- Common due date terms include due upon receipt, Net 7, Net 15, Net 30, Net 60, and Net 90.
- A practical payment follow up workflow includes reminders before and after the due date, not just a late notice.
Invoice Payment Timeline Definition for Small Business Invoices
An invoice payment timeline is the dated path an invoice follows from issue to paid record. It starts with the invoice date or send date, then moves through client receipt, review, approval, payment, and final paid status.
In plain language, the invoice payment timeline answers one working question: “Where is this invoice right now?” A freelancer may send a PDF copy on Monday, but the client may not review it until Thursday. A service business may need a purchase order before accounts payable can approve it.
The timeline is not closed when the invoice is emailed. It ends only when the money is received, matched to the correct invoice number, and recorded as paid. That last step matters when a client says, “Can you resend that invoice?” and you’re checking unpaid status on your phone between jobs.
Five Invoice Due Date Timeline Facts to Know First
- The invoice date usually starts the clock. Many due dates are calculated from the invoice date, although a contract can set a different start point.
- Due dates can be exact dates or terms. An invoice may say “Due March 15” or use terms such as Net 7, Net 15, Net 30, Net 60, or Net 90.
- Due upon receipt means immediate payment is expected. It does not always mean instant settlement, but the client should treat the invoice as payable when received.
- Sent is not paid. A sent invoice can still be sitting in a client inbox, waiting on review, or paused for approval.
- Reminders, late fees, and discounts belong up front. State them before sending, not after the invoice becomes uncomfortable to chase.
A formula error glowing red at night is a bad way to learn which invoices are late. The timeline should be visible before the due date passes.
How an Invoice Payment Timeline Works Behind the Scenes
An invoice payment timeline works by attaching dates and statuses to each billing event: created, sent, delivered, viewed, approved, paid, and recorded. The key operational idea is status tracking, which means the invoice keeps a visible position instead of disappearing into email.
Due dates are usually calculated from the invoice date, the send date, or custom terms in the client agreement. Net 30 commonly means 30 calendar days from the invoice date unless the agreement says otherwise. For a small business, the practical requirement is simpler: the system should show the invoice date, send date, due date, reminder history, and paid status in one place.
Client review can slow everything down. A missing purchase order, a manager approval, or a billing contact on vacation may delay payment even when the work is finished. Tools like Invoice Maker Teo can help track the invoice, PDF copy, reminders, and payment status, but reminders do not guarantee a client will pay on time.
How to Use an Invoice Payment Timeline Step by Step
Use an invoice payment timeline by setting the terms first, recording each date, and updating the status only when payment facts change. For freelancers, this is often easier than rebuilding the story from email threads because the invoice number, due date, and payment status stay together.
- Set payment terms before sending the invoice, including due date wording, accepted payment methods, and any purchase order requirement.
- Log the send date with the invoice number, client name, invoice date, amount, and due date.
- Schedule reminders before the due date, on the due date, and after the invoice becomes overdue.
- Record partial payments with the amount paid, date received, method, and remaining balance.
- Mark the invoice paid only after the full amount has been received and matched to the correct invoice.
Simple beats clever here.
If you need a dedicated status view, an invoice payment tracking app can keep the next follow-up from living only in your memory.
Before You Start: Invoice Timeline Prerequisites
Before you build the invoice timeline, make sure the billing facts are settled. The cleanest timeline starts before the invoice is created, not after a client asks for a missing detail.
- Confirm the billing contact with the client before you create the invoice. The project lead may approve the work, but accounts payable may need the invoice sent somewhere else.
- Check required references such as a purchase order, job code, department name, or project number. Add them before sending so the invoice does not stall in review.
- Choose the payment terms before the work is billed. Decide whether the invoice is due upon receipt, Net 15, Net 30, or another agreed term, then write the exact due date clearly.
- List payment options in plain language, including card, bank transfer, check, cash, or payment app details. If a processor fee applies, state it where the client can see it.
- Keep supporting records nearby including the contract terms, invoice numbers, client notes, and past payment history. When a question comes in, you should not have to rebuild the file from memory.
Step 1: Set Invoice Payment Terms Before the Send Date
Payment terms set the rest of the invoice due date timeline. If the terms are vague, every reminder later has less weight.
| Payment term | Plain meaning | Typical use |
|---|---|---|
| Due upon receipt | Pay as soon as the invoice is received | Small jobs, one-off services, urgent billing |
| Net 7 | Pay within 7 days | Fast-moving freelance or repair work |
| Net 15 | Pay within 15 days | Repeat clients with shorter cycles |
| Net 30 | Pay within 30 days | Common small business and B2B billing |
| Net 60 | Pay within 60 days | Larger clients or longer approval chains |
| Net 90 | Pay within 90 days | Some enterprise or industry-specific terms |
Net 30 usually means 30 calendar days from the invoice date unless the agreement says another start point. For a general explanation of common invoice payment terms such as Net 7, Net 15, and Net 30, see Xero’s payment-terms guide: https://www.xero.com/us/guides/invoicing/payment-terms/. Write the exact due date on the invoice anyway. “Due April 30” is harder to misread than “Net 30” alone.
Add payment methods, purchase order numbers, approval notes, and the right billing contact before sending. A missing PO can freeze an otherwise clean invoice.
Step 2: Send the Invoice and Record the Invoice Due Date Timeline
What should you record when you send an invoice? Record the invoice number, invoice date, send date, client name, amount due, and due date in the same place.
The invoice date and send date may differ. You might create an invoice Friday after finishing a milestone, then send the PDF copy Monday morning after checking the line items. That gap matters if your terms start from the invoice date. It matters even more when the client’s accounts payable team counts from receipt.
Confirm the client received the invoice, especially for new customers or larger amounts. A short email reply is enough. The email subject typed with one thumb in a parked van still needs a clear invoice number.
A visible due date reduces back-and-forth because both sides know when payment is expected. If you regularly need to see unpaid invoices, record the timeline at send time, not after the client is already late.
Step 3: Run a Payment Follow Up Workflow Around the Due Date
A payment follow up workflow should start before the invoice is late and continue at sensible intervals after the due date. The goal is to stay clear and consistent, not to sound irritated on the first reminder.
Before the due date
Send a friendly reminder a few days before the due date. Keep it short: invoice number, amount, due date, and payment link or instructions. If the client promised payment after a call, note that promise in the client record so your next message reflects what actually happened.
An early-payment discount can encourage faster payment, but it reduces margin. Use it only if the discount was offered before the invoice was sent.
After the due date
Send a due-date note or same-day reminder, then follow up after the invoice becomes overdue. Common intervals include a few days late, one week late, and then weekly or according to your agreement.
Tone should move from helpful to firm. Late fees should appear only if they were agreed in advance. For repeat late clients, a tool or app that sends payment reminders can make the cadence less personal and more consistent.
Step 4: Track Partial Payments Until the Invoice Is Paid
A partial payment is any payment that covers only part of the invoice total. The invoice stays open until the remaining balance is received and recorded.
Record the amount paid, balance due, payment date, and payment method each time money comes in. Card payments, bank transfers, cash, checks, and payment apps can all arrive differently. A payment may be initiated today but settle later, especially with bank transfers or processor holds. For example, Stripe explains that payout timing can vary by country, industry, bank processing, and account risk review: https://docs.stripe.com/payouts.
Do not mark an invoice paid just because a client says payment was sent. Check that the funds arrived and match the invoice number. Cash received marked near the register is clear; a “sent it this morning” text is not the same thing.
For mixed payments, it helps to find partial payments before sending another reminder. Otherwise, a client who already paid half may receive a message that sounds wrong.
Step 5: Verify Paid Status and Close the Invoice Payment Timeline
Close the invoice payment timeline only after the full amount has been received and matched to the correct invoice number. Paid status should reflect money received, not hope, promises, or screenshots.
Before closing, confirm the total, payment method, payment date, and client name. Then match the payment to the invoice number, especially if the client has several open invoices. A duplicated invoice number in a spreadsheet can create a messy afternoon for you and your bookkeeper.
Send a receipt or paid PDF copy when appropriate. Some clients need that record for internal files, and it also gives both sides a clean end point.
Invoice Maker Teo is an invoice maker app that creates invoices, estimates, PDFs, reminders, and payment tracking for freelancers and small businesses. In this workflow, its useful job is simple: keep the invoice, due date, and paid record visible.
Common Invoice Payment Timeline Mistakes That Delay Payment
- Missing due date: An invoice without a due date forces the client to guess when payment is expected.
- Unclear payment terms: “Pay soon” is not a term. Use due upon receipt, Net 15, Net 30, or a specific calendar date.
- No purchase order or required reference: Some clients cannot process an invoice without the PO, job code, or department name.
- Wrong billing contact: Sending the invoice to the project contact may not reach accounts payable.
- No payment method instructions: A client should not have to ask whether you accept card, ACH, check, cash, or a payment app.
- Late follow-up: Waiting three weeks after the due date makes collection harder and less predictable.
- Premature paid status: Marking an invoice paid before funds arrive hides real unpaid work.
For repeat issues, use invoice notes or discover late payment patterns by client, term, or service type.
Sources for Invoice Payment Terms and Timeline Rules
Use source material as a guardrail, not as a replacement for the agreement you made with the client. Common examples like Net 7, Net 15, and Net 30 can explain ordinary invoice wording, while processor and government guidance help you separate due dates, settlement timing, and recordkeeping.
- Check payment-term references when choosing plain invoice wording for Net 7, Net 15, Net 30, or a calendar due date.
- Confirm the contract first because signed terms, purchase orders, statements of work, or client onboarding documents can override generic examples.
- Verify payout timing with the payment processor before treating a card, ACH, or bank payment as fully received; authorization and settlement are not always the same day.
- Keep business records that support income, expenses, invoices, payments, adjustments, and client communications in case a tax or bookkeeping question comes up later.
- Review local rules before adding late fees, interest, collection costs, or penalty language, because enforceability can depend on state, country, industry, and what the client agreed to in advance.
Limitations
An invoice payment timeline makes billing easier to manage, but it cannot control every part of payment behavior. It is a workflow, not a guarantee.
- A timeline does not guarantee on-time payment.
- Client approval processes can delay payment even when the invoice is correct.
- There is no universal standard invoice timeline for every industry.
- Reminder workflows do not replace clear contract terms.
- Early-payment discounts may speed cash flow, but they reduce margin.
- Late fees may not be enforceable unless agreed in advance.
- Payment processors and banks can add settlement delays.
- A disputed line item can pause payment until the client and business resolve it.
- An invoice app cannot decide legal enforceability, tax treatment, or contract rights.
That last point matters.
Use the timeline to keep the next action clear. For contracts, tax rules, or enforceability questions, ask the appropriate professional instead of relying on invoice status alone. For U.S. small-business recordkeeping expectations, the IRS outlines why businesses should keep accurate income, expense, and supporting records: https://www.irs.gov/businesses/small-businesses-self-employed/recordkeeping.
FAQ
What is an invoice timeline?
An invoice timeline is the process from sending an invoice to recording the payment. It usually includes the invoice date, due date, reminders, payment receipt, and paid status.
When does Net 30 start?
Net 30 typically starts from the invoice date. If your agreement says it starts from receipt, approval, or another date, use that agreement.
Is Net 30 business days?
Net 30 usually means 30 calendar days, not 30 business days. The agreement should state any different rule clearly.
What does due upon receipt mean?
Due upon receipt means payment is expected as soon as the customer receives the invoice. It does not always mean funds will settle instantly.
When should I send invoice payment reminders?
Send a reminder before the due date, another on the due date, and follow-ups after the invoice becomes overdue. Keep the timing consistent.
What makes an invoice overdue?
An invoice becomes overdue when the due date passes without full payment. Partial payment does not close the invoice unless the full balance is received.
Can invoices have partial payments?
Yes, invoices can have partial payments. Record the amount paid, payment date, method, and remaining balance.
When should I mark an invoice as paid?
Mark an invoice as paid only after the full payment is received. Match the payment to the correct invoice number before closing it.